Tiếng Việt
Cleansing oils have become increasingly popular due to their effectiveness in removing heavy makeup and fine dust. However, without proper emulsification, residual oil can easily linger on the skin, clogging pores and leading to acne. The following article from Hbio Clinic guides you through the correct emulsification process to achieve clean, smooth skin.
What is cleansing oil emulsification?
Emulsification is the process of transforming the oil layer on your skin into a milky, liquid consistency that can be easily rinsed off with water. Since oil and water do not naturally mix, cleansing oils contain emulsifiers that break down the oil structure upon contact with warm water.
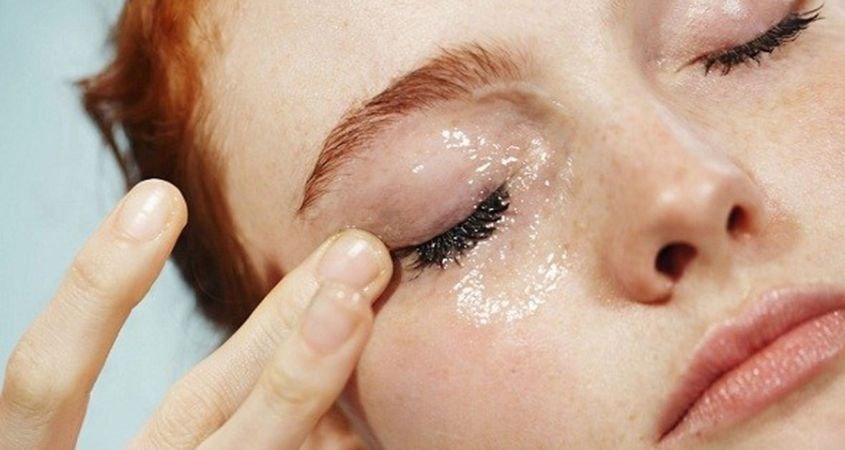
Emulsifying cleansing oil offers several practical benefits:
- Thoroughly removes dirt, sebum, and waterproof makeup.
- Deep-cleans pores, preventing the formation of clogged pores (hidden acne) and blackheads.
- Prevents any unpleasant, greasy residue on the skin after washing.
A 4-step guide to properly emulsifying cleansing oil
To maximize the effectiveness of the cleansing oil, you must strictly follow the proper procedure. Below is a dermatologically sound method for emulsifying cleansing oil that you can practice at home:
Step 1: Ensure hands and face are completely dry
This is the most critical rule when using cleansing oil. If your hands or face are wet, the oil will emulsify prematurely before it has a chance to dissolve dirt and impurities. Wash your hands thoroughly with antibacterial soap and dry them completely with a towel before dispensing the oil.
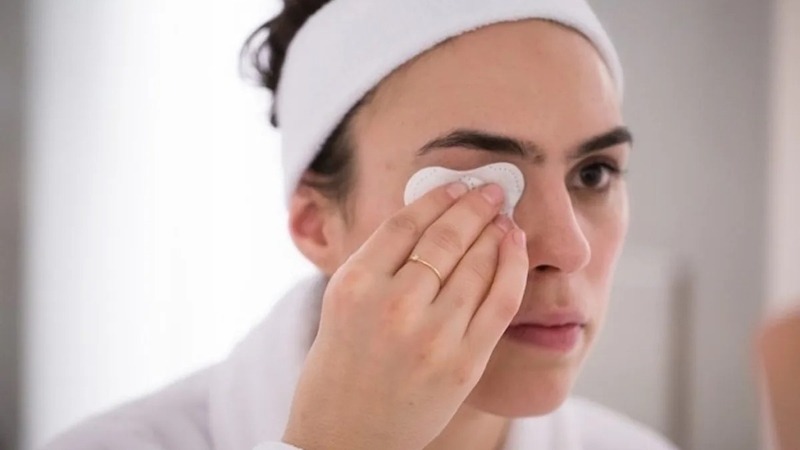
Step 2: Massage the oil onto your face
Dispense a sufficient amount of oil (about 2–3 pumps) into your palm. Apply the oil to your face and gently massage using circular motions, moving from the bottom up and from the center outward.
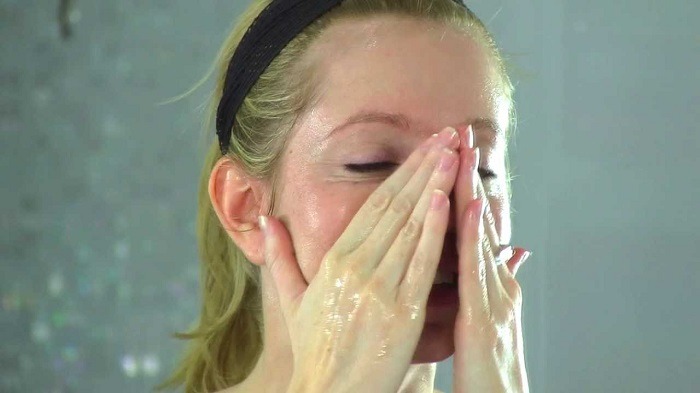
Massage for approximately 2–3 minutes to allow the oil to fully dissolve makeup and excess sebum.
Step 3: Emulsify the cleansing oil with warm water
Take a small amount of warm water in your palms and apply it to your face. Continue massaging evenly until the oil transforms completely into a milky-white emulsion.
You can repeat this step 2–3 times until the oil feels diluted and no longer leaves a greasy residue. This is the crucial step for properly emulsifying the cleansing oil.
Step 4: Rinse thoroughly with water and a facial cleanser
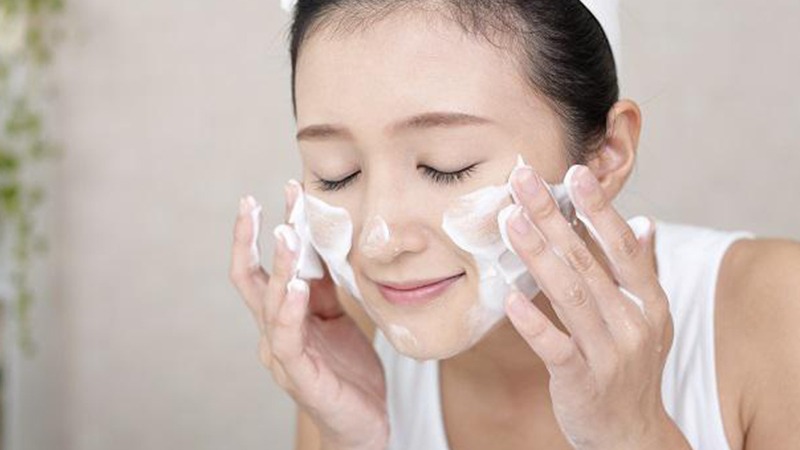
After emulsifying the cleansing oil, rinse your face thoroughly with warm water. To ensure no oily residue remains, follow up with a “double cleanse” using a facial cleanser suitable for your skin type.
Tips for Choosing the Right Cleansing Oil for Your Skin Type
There are currently two main categories of products to consider when using the oil-emulsification cleansing method at home:
Natural cleansing oils: These include coconut, olive, or sunflower oil. Their advantages are affordability and easy availability. However, these oils often have a heavy texture, are difficult to emulsify completely, and can easily cause breakouts if not emulsified thoroughly.
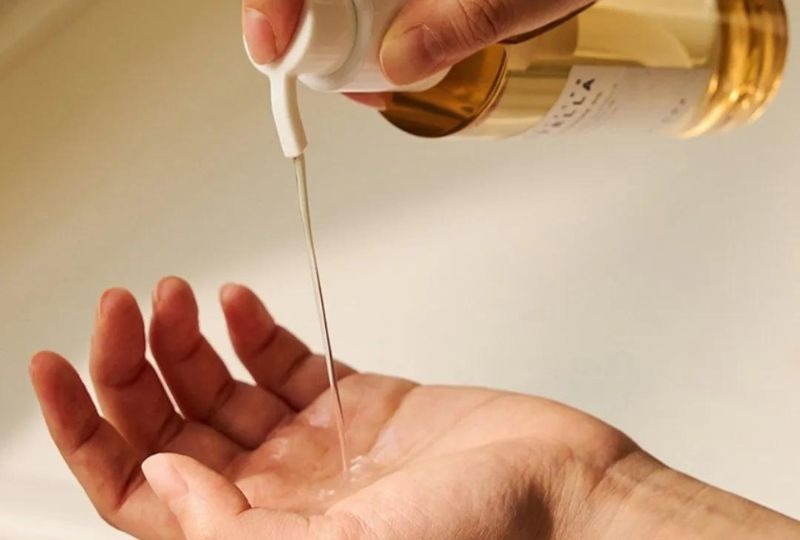
Specialized cleansing oils: Products from reputable cosmetic brands are formulated with carefully researched emulsifier concentrations. These products are typically lightweight, water-soluble, and safe even for sensitive skin.
When to seek professional skincare at HBIO Clinic
No matter how meticulous your at-home cleansing routine is, it only affects the surface of the epidermis. You should visit HBIO Clinic for medical-grade professional skincare as soon as you notice the following signs:
- Recurring clogged pores (comedones) and blackheads: Even with proper emulsification of cleansing oil, sebum plugs and makeup residue accumulate deep within the hair follicles, forming stubborn, bumpy blemishes.
- Enlarged pores and uncontrolled oil production: A buildup of thickened, dead skin cells blocks the flow of sebum, resulting in a rough, uneven skin texture.
- Dull complexion and poor nutrient absorption: When the skin barrier is compromised and dead skin cells accumulate heavily, expensive at-home serums and creams cannot penetrate to the deeper layers of the skin.
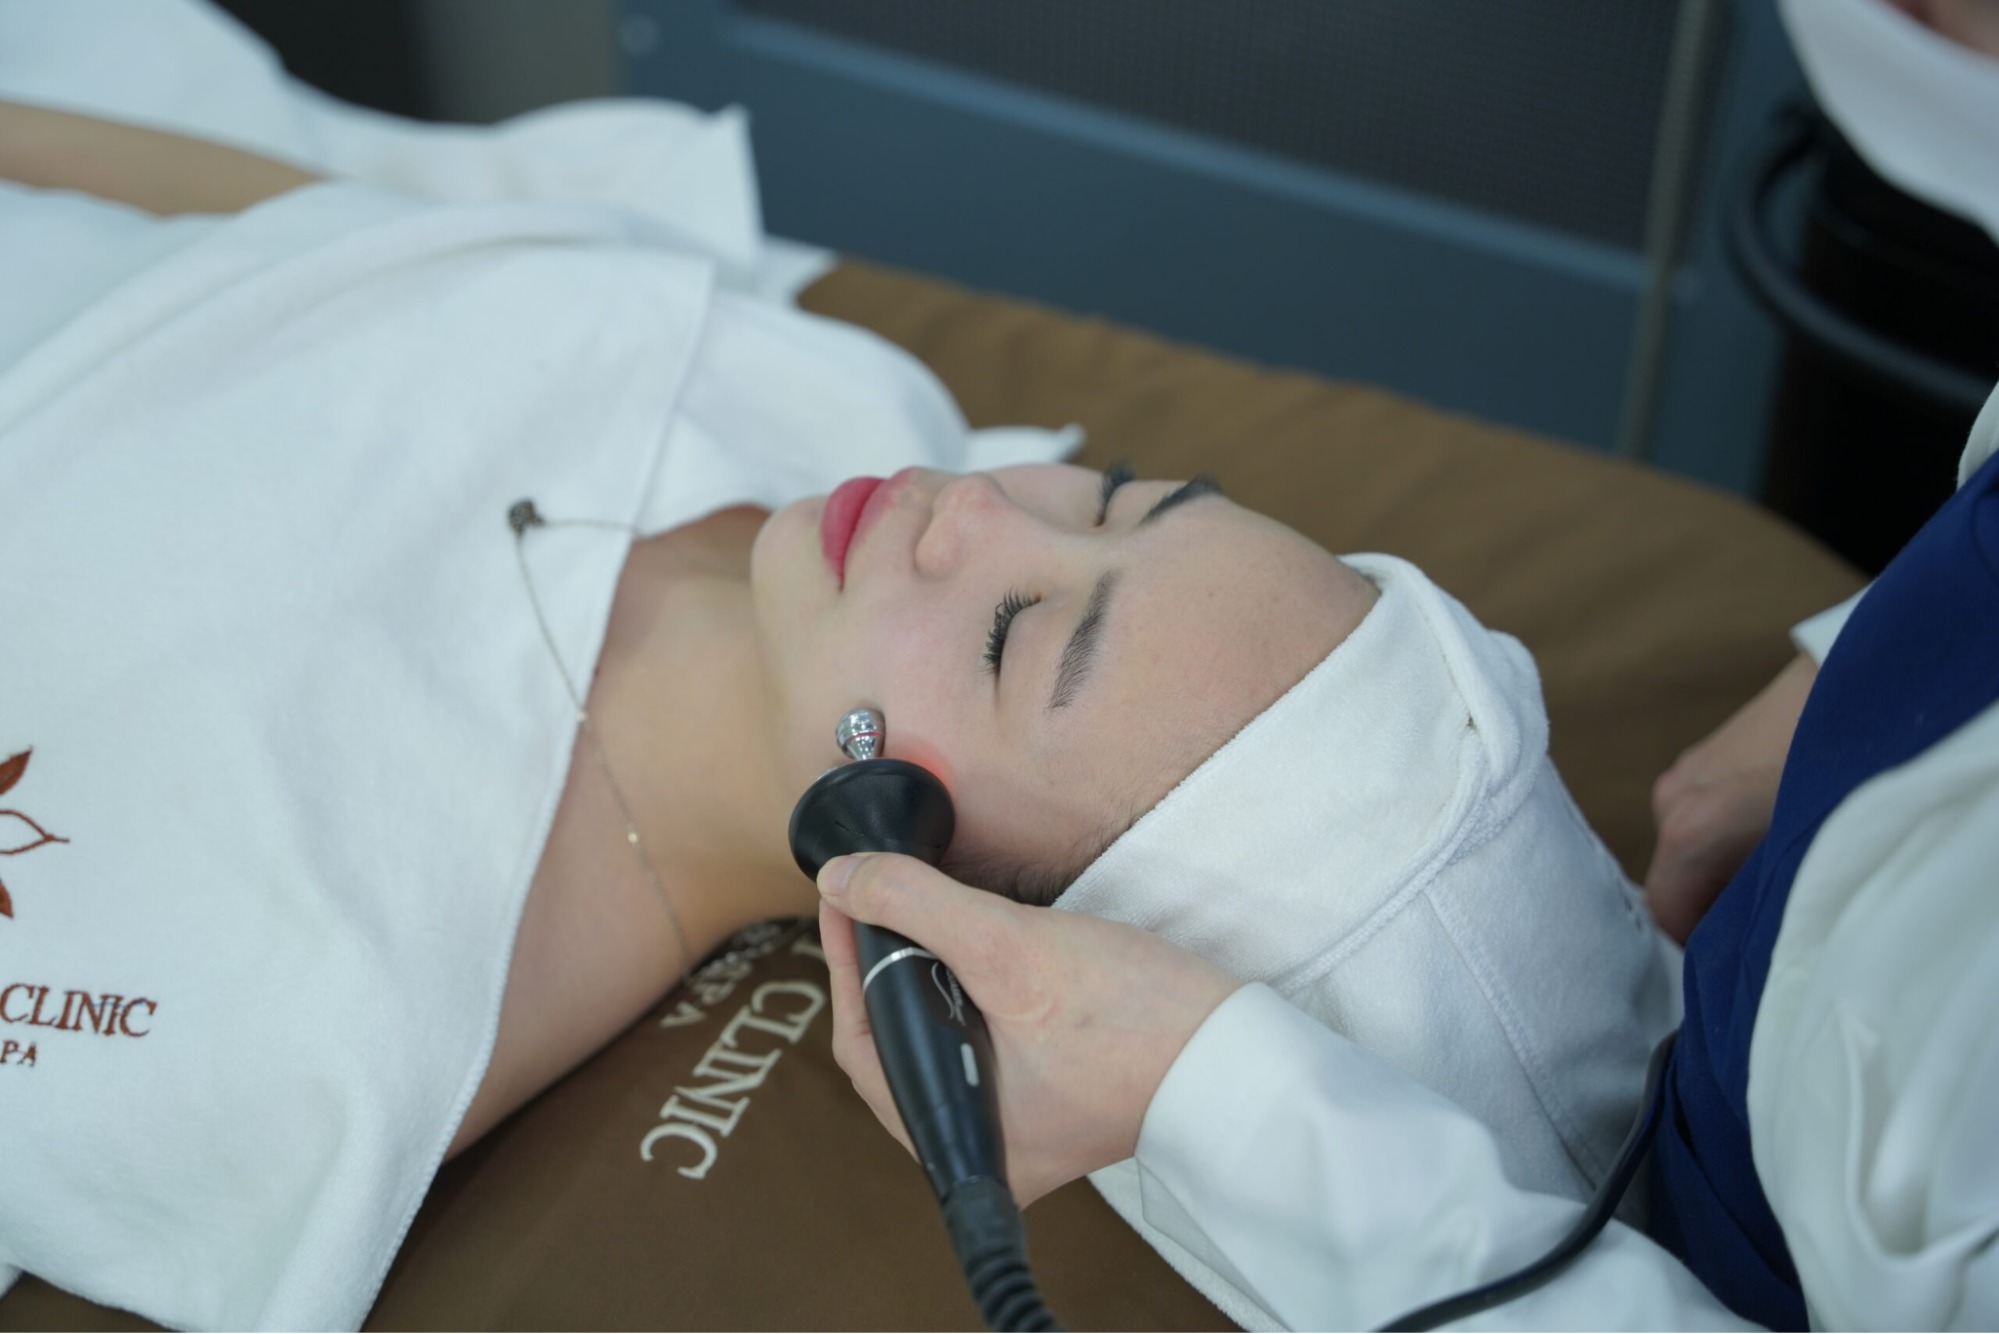
At HBIO Clinic, you will receive:
- An AI skin analysis to assess pore congestion and deep-seated bacterial pockets.
- A personalized cleansing and skin recovery regimen tailored to your specific skin condition.
- Advanced skincare treatments, such as essence iontophoresis and bio-light therapy, to soothe and regenerate your skin.
Understanding your skin and correctly emulsifying your cleansing oil—combined with HBIO Clinic’s professional treatments—will help you maintain a radiant, healthy complexion.
Frequently Asked Questions About Cleansing Oil Emulsification
Here are brief answers to the most common questions regarding the proper emulsification of cleansing oil:
Why do I still get clogged pores (hidden acne) even though I emulsify thoroughly?
The cleansing oil you are using may contain unsuitable ingredients (such as mineral oil), or you might be skipping the follow-up cleanse with a facial cleanser after emulsifying the oil.
Should oily, acne-prone skin use cleansing oil?
Yes, because oil is the most effective substance for dissolving other oils. However, you must ensure you emulsify the oil correctly to avoid clogging your pores.
Can I emulsify using cold water?
Cold water is not ideal for emulsifying cleansing oil. You should use warm water to help the oil easily transform into a milky consistency.
Do natural cleansing oils (like coconut or olive oil) need to be emulsified?
It is absolutely essential. These oils are heavy and cling to the skin; without proper emulsification, there is a high risk of clogged pores.
How long should the emulsification process take?
The water-based emulsification step usually takes about one minute after you have finished massaging the oil onto dry skin.
Mastering the emulsification process is key to protecting your skin from harmful factors. If you require further advice on medical-standard skincare procedures, please contact HBIO Clinic immediately for dedicated assistance.