Tiếng Việt
Cleansing is an essential, foundational skincare step for removing the dirt and impurities that accumulate over a long day. However, to achieve a deep clean and clear pores without leaving your skin feeling tight or dry, you need to follow a scientifically sound routine. The following article from Hbio Clinic provides a detailed guide to a simple yet highly effective cleansing process suitable for all skin types.
A detailed guide to proper facial cleansing
Following the correct cleansing steps helps your skin better absorb nutrients during subsequent skincare stages. Below is a medically recommended 7-step routine:
Step 1: Clean and sanitize your hands
This is the most important cleansing step, yet it is often overlooked. Hands harbor the most bacteria; if you do not wash them thoroughly before touching your face, bacteria can spread directly to your skin and cause acne.

You need to wash your hands with antibacterial soap before beginning the proper facial cleansing routine.
Step 2: Use a dedicated makeup remover
Even if you are not wearing makeup, using a makeup remover is essential to eliminate sunscreen and microscopic dust particles. Gently wipe your face with a cotton pad soaked in makeup remover, moving in an upward and outward motion to thoroughly remove impurities.
Step 3: Wet your face with warm water
Using warm water (approximately 30–35°C) to wet your face helps gently open your pores, making it easier for the cleanser to remove dirt. Avoid using water that is too hot, as it can strip away natural oils and leave your skin feeling dry and rough.

Step 4: Lather the facial cleanser
Lathering is a crucial step in a proper cleansing routine, as it reduces friction between your hands and your skin. The fine foam penetrates deep into the pores to remove excess oil. For sensitive skin, a fine lather also helps neutralize alkalinity, minimizing the risk of irritation.
Step 5: Massage your face using the proper technique
Apply the foam to your face and gently massage in a spiral motion for at least 60 seconds. Focus on massaging in an upward and outward direction—moving from the center of the face toward the sides—to stimulate blood circulation and help prevent sagging.
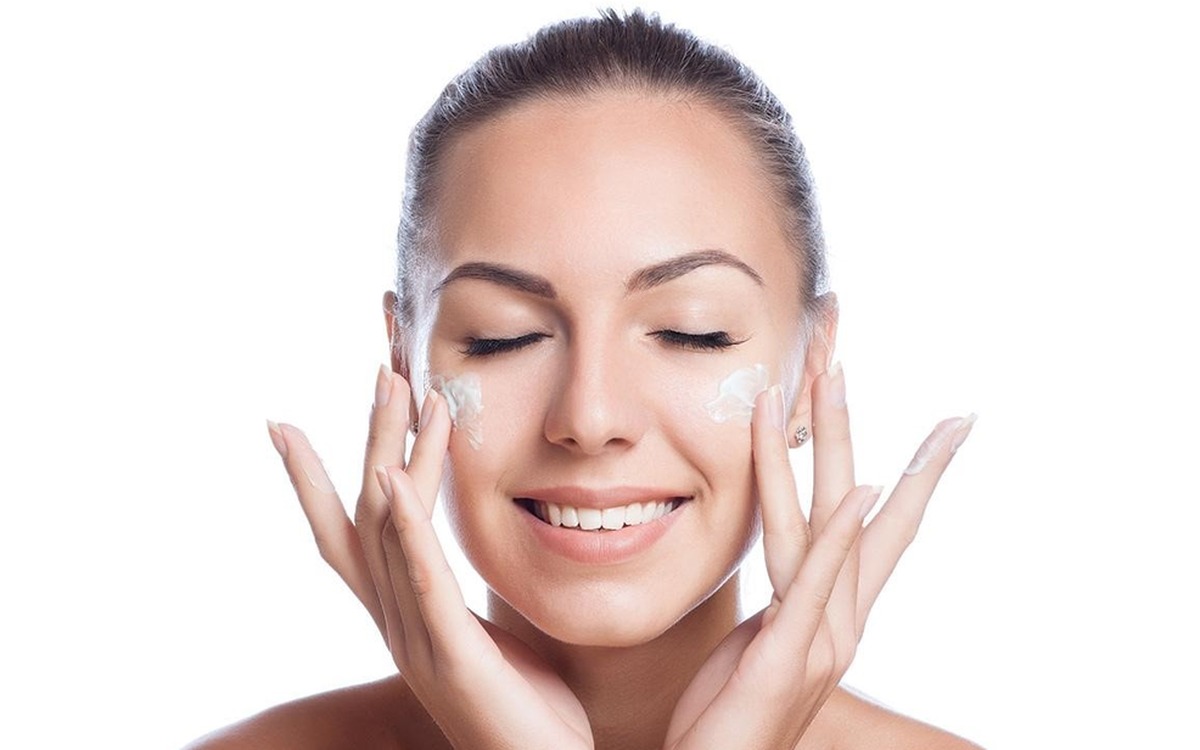
Step 6: Rinse with cool water and pat dry
After massaging, rinse your face with cool water to tighten pores and soothe the skin. Gently pat dry using a soft cotton towel or a cotton pad; avoid rubbing vigorously, as this can damage the skin’s surface. This final rinsing step ensures all product residue is completely removed.
Step 7: Apply a balancing toner
Using toner is the final step in the cleansing routine, helping to balance pH levels and instantly restore moisture. Simply apply a small amount and gently pat it onto your skin, focusing on the T-zone to effectively control oil.

Choosing Cleansers Based on Skin Type
Simply following the correct cleansing steps isn’t enough; you also need to select a product suited to your skin’s specific characteristics. Refer to the guide below on how to choose a cleanser based on your skin type.
- Dry skin: Opt for a cream-based cleanser containing moisturizing ingredients like olive oil or aloe vera to protect the skin’s natural moisture barrier. Consider products such as CeraVe Hydrating Facial Cleanser or Cetaphil Gentle Skin Cleanser.
- Oily skin: Prioritize foaming cleansers containing Salicylic Acid—such as La Roche-Posay Effaclar Purifying Foaming Gel—to effectively remove excess oil at the source.
- Combination skin: You can use a foaming cleanser (like Cosrx Low pH Good Morning Gel Cleanser) on the T-zone in the morning and a moisturizing cream cleanser on the cheeks in the evening.
- Sensitive skin: Use a low-foaming, fragrance-free, and alcohol-free gel cleanser to prevent redness or irritation during your daily routine. Try Bioderma Sensibio Gel Moussant or Avene Cleanance Cleansing Gel.
- Acne-prone skin: Choose a highly antibacterial product containing green tea or Panthenol—such as Some By Mi AHA-BHA-PHA 3 Days Miracle Acne Clear Foam or Paula’s Choice Clear Pore Normalizing Cleanser—to quickly soothe inflamed areas.

Experience In-Depth Skincare at HBIO Clinic
While a proper at-home cleansing routine is essential, achieving a truly deep clean and internal skin rejuvenation requires professional treatments.
HBIO Clinic is a trusted provider of scientifically-backed skincare solutions, featuring a team of leading dermatologists and state-of-the-art equipment.
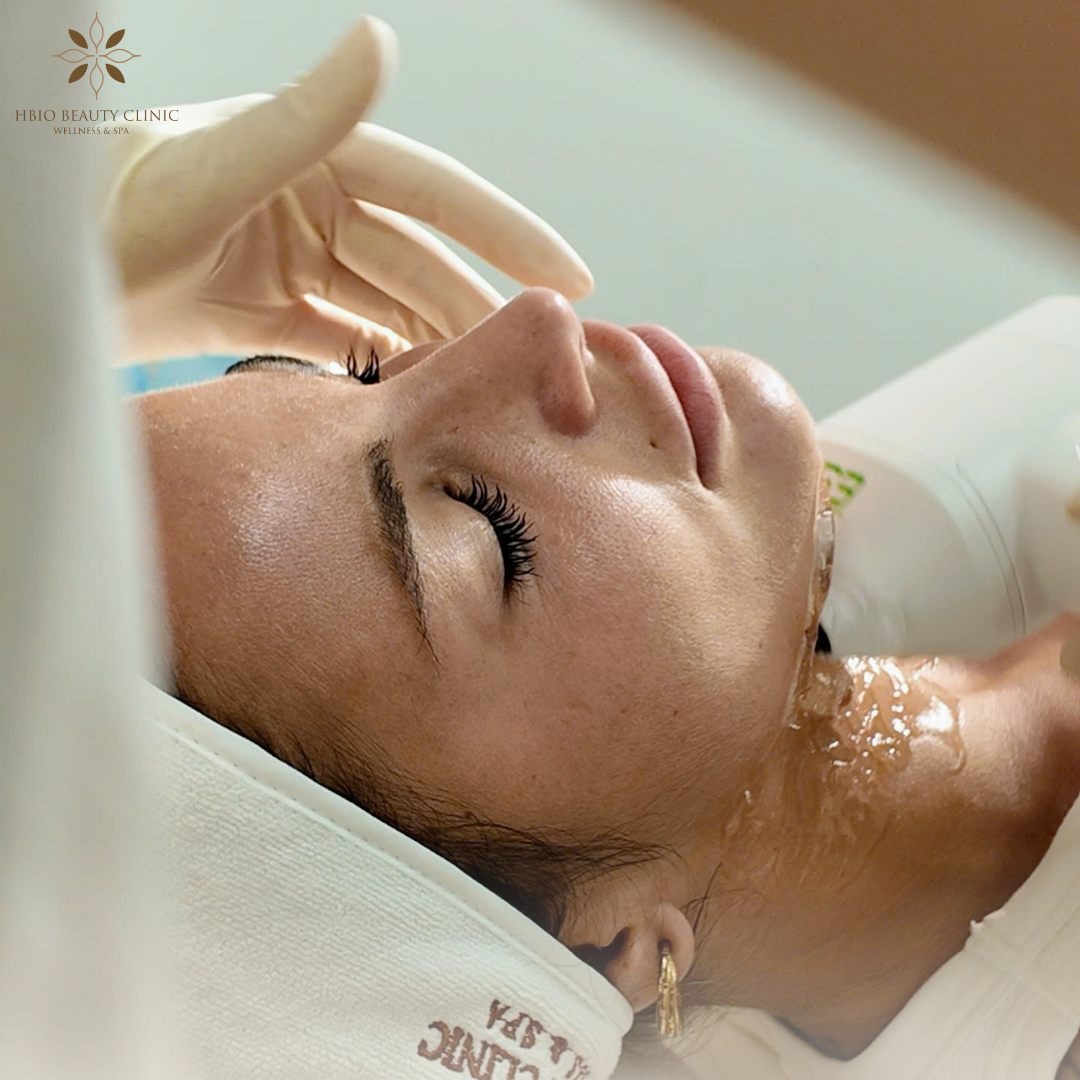
At HBIO Clinic, the skin cleansing process is a top priority. You will undergo an AI skin analysis to accurately determine your skin type, allowing our doctors to recommend the most suitable cleanser and cleansing method.
We are committed to using premium cosmeceuticals that are gentle and non-irritating, helping you maintain a radiant, supple complexion after every treatment. At HBIO Clinic, the simple act of washing your face is elevated into a deeply relaxing and rejuvenating skincare experience.
Frequently Asked Questions About Facial Cleansing
Here are brief answers to the most common questions to help you cleanse your face more effectively:
- How often should I wash my face? => A maximum of twice a day (morning and evening).
- Is washing with hot water good? => No; use lukewarm water to prevent skin dryness.
- Why should I wash my hands before cleansing my face? => To prevent the transfer of bacteria from your hands, which can cause acne.
- Do I need to use a makeup remover if I’m not wearing makeup? => Yes, to remove sunscreen and fine dust particles.
- How long should I massage the cleanser into my skin? => About 60 seconds.
- Should I use a bath towel to dry my face? => No; use a separate, soft cotton towel or a clean cotton pad instead.
- Does using more cleanser result in a deeper clean? => No; a pea-sized amount is sufficient to avoid stripping or damaging the skin.
- How soon after washing should I apply moisturizer? => Immediately (within 60 seconds) while the skin is still damp.
We hope this article from HBIO Clinic has helped you understand the proper way to cleanse your face. If you have followed these steps but still struggle with issues like enlarged pores or acne, please contact us for a professional consultation and treatment.